

Janus
0.1.1 - ci-build
Janus
0.1.1 - ci-build
Janus - Local Development build (v0.1.1) built by the FHIR (HL7® FHIR® Standard) Build Tools. See the Directory of published versions
Welcome to the User Guide for the Janus Application!
We are delighted to present the comprehensive user guide for the Janus Application, your ultimate companion for harnessing the power of Fast Healthcare Interoperability Resources (FHIR®) in the realm of data mapping and questionnaire management. This guide is meticulously crafted to walk you through every aspect of navigating the Janus Application with proficiency and confidence.
In this rapidly evolving landscape of healthcare technology, the adoption of FHIR® as the standard for exchanging healthcare information has revolutionized the way data is shared, managed, and utilized across the industry. The Janus Application seamlessly integrates FHIR® into its environment, empowering you to ensure the robustness, security, and interoperability of your healthcare applications with unparalleled ease.
In this guide, we will delve into a comprehensive exploration of the Janus Application's functionalities, step-by-step instructions to set up your environment, strategies to create and manage FHIR® StructureMap and Questionnaires. By the end of this guide, you will be empowered to wield the Janus Application effectively, harnessing its capabilities to elevate your healthcare data management endeavors.
Welcome to the Janus Homepage!
As you embark on your journey of healthcare data management excellence, the Janus homepage awaits you with a range of powerful features and tools. Here's a guide to help you make the most of your experience:
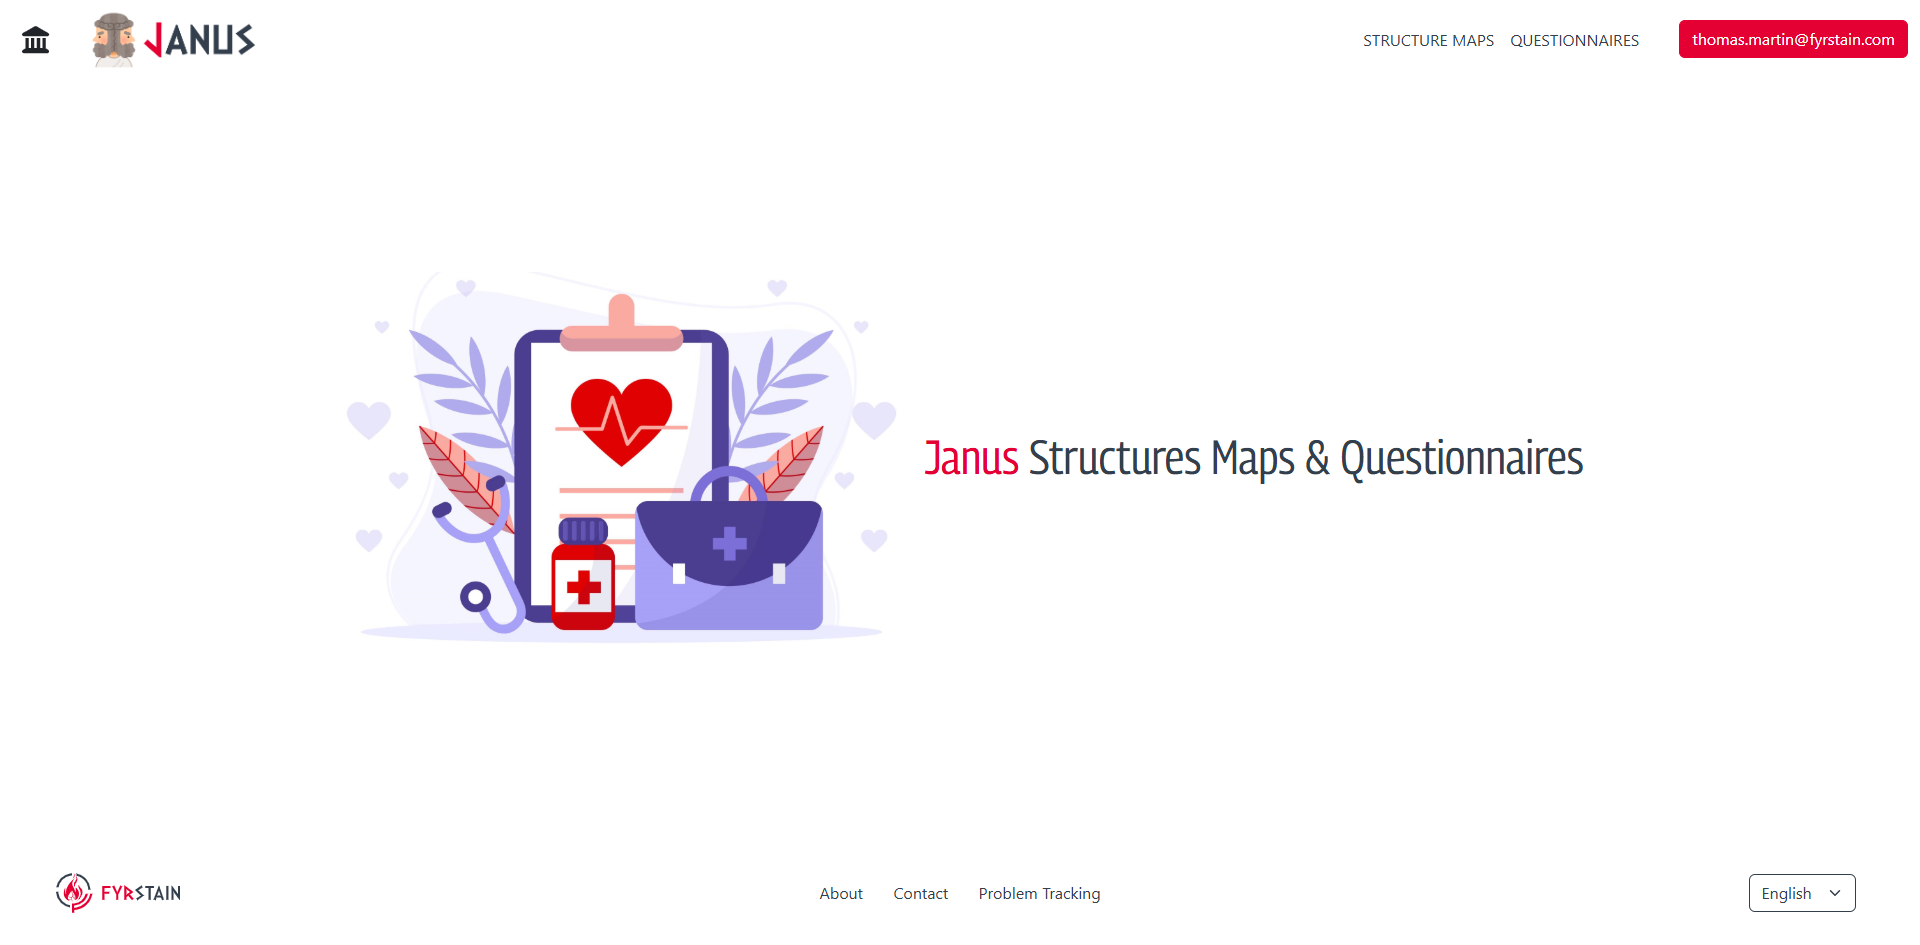
Language Selection:
At the bottom right corner of the homepage, you'll find a language switcher. This allows you to seamlessly toggle between French and English, choosing the language that suits your preferences. Whether you're more comfortable in English or French, the Janus Application ensures that language isn't a barrier to your testing and exploration.
Tab Overview:
Structure Maps : The Structure Maps tab provides tools for creating, modifying, and managing FHIR® StructureMap resources. These resources facilitate the transformation of healthcare data according to FHIR® R4 standards.
Questionnaires : The Questionnaires tab offers comprehensive functionalities for creating and managing FHIR® Questionnaires, as well as generating QuestionnaireResponses from completed questionnaires. These tools support the collection and validation of clinical and administrative data.
Log In icon: The "Log In icon" tab lets you log in as an administrator (not available at present) or as a simple user, giving you access to the entire Application.
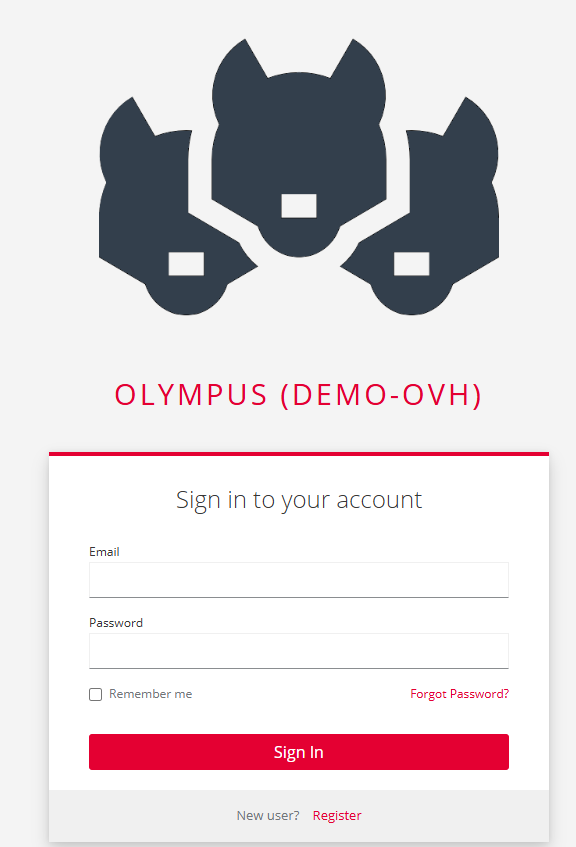
To access the wealth of features and capabilities within the Janus Application, follow these simple steps to log in using your email and password:
Navigate to the Login Page: Open your web browser and visit the Janus's login page on the top right corner of the homepage, login menu.
Enter Your Credentials: Input your registered email address and the corresponding password into the designated fields.
Click "Sign In": Once your email and password are entered correctly, click the "Sign In" button to proceed.
Exploring the Application: You're now successfully logged in! Explore the diverse tools, simulations, and testing options available to you on the Janus Application.
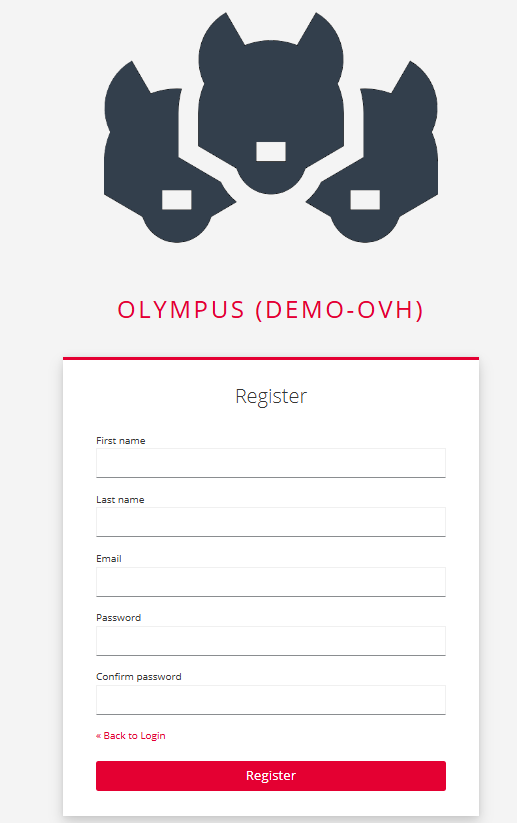
If you're new to the Janus Application and need to create an account, the registration process is quick and straightforward. Here's what you need to do:
Navigate to the Login Page: Open your web browser and access the Janus's login page on the top right corner of the homepage, login menu.
Click "Register": Beneath the login fields, you'll find a "Register" button. Click on it to initiate the registration process.
Provide Your Information: You'll be directed to a registration form where you'll need to provide essential details such as your name, email address, desired password, and any other necessary information.
Complete the Registration: After filling out the required fields, review the information for accuracy and completeness.
Click "Register": Once you're satisfied with the provided information, click the "Register" button to finalize your registration.
Verification (if applicable): Depending on the Application's setup, you might receive a verification email. If required, follow the instructions in the email to verify your account.
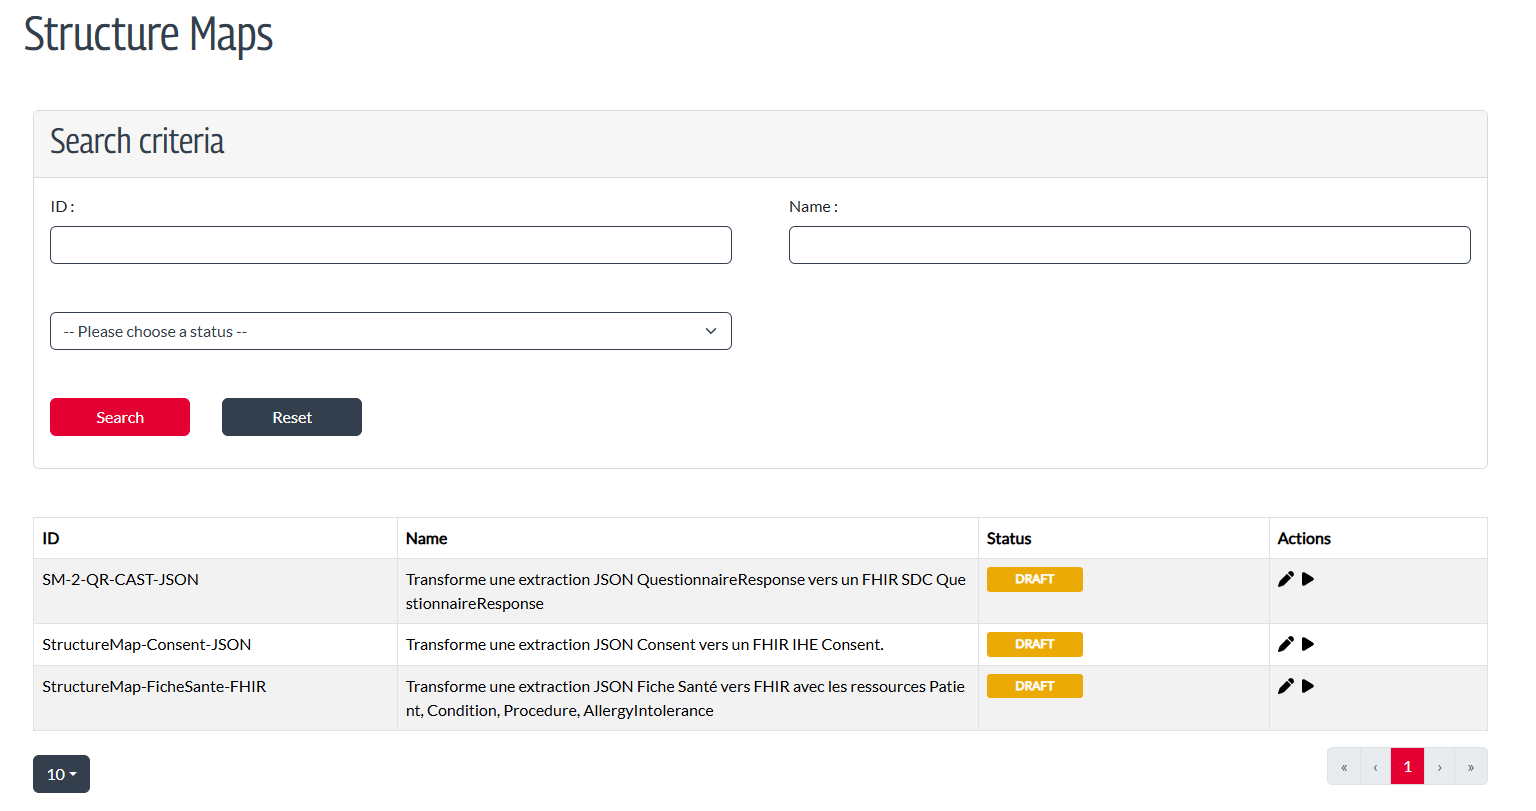
At the top of the StructureMaps page, there is a Search Criteria section that allows users to filter and find specific StructureMap entries. This section includes the following fields:
Below these fields, there are two buttons:
Below the search criteria section, there is a table listing all the StructureMap entries that match the search criteria. This table includes the following columns:
At the bottom of the page, there is a pagination control that allows users to navigate through multiple pages of StructureMap entries. Users can select the number of entries displayed per page using a dropdown menu (e.g., 10, 20, 50), and navigate between pages using the left and right arrow buttons or by selecting a specific page number.
Welcome to the StructureMap Page Launch!
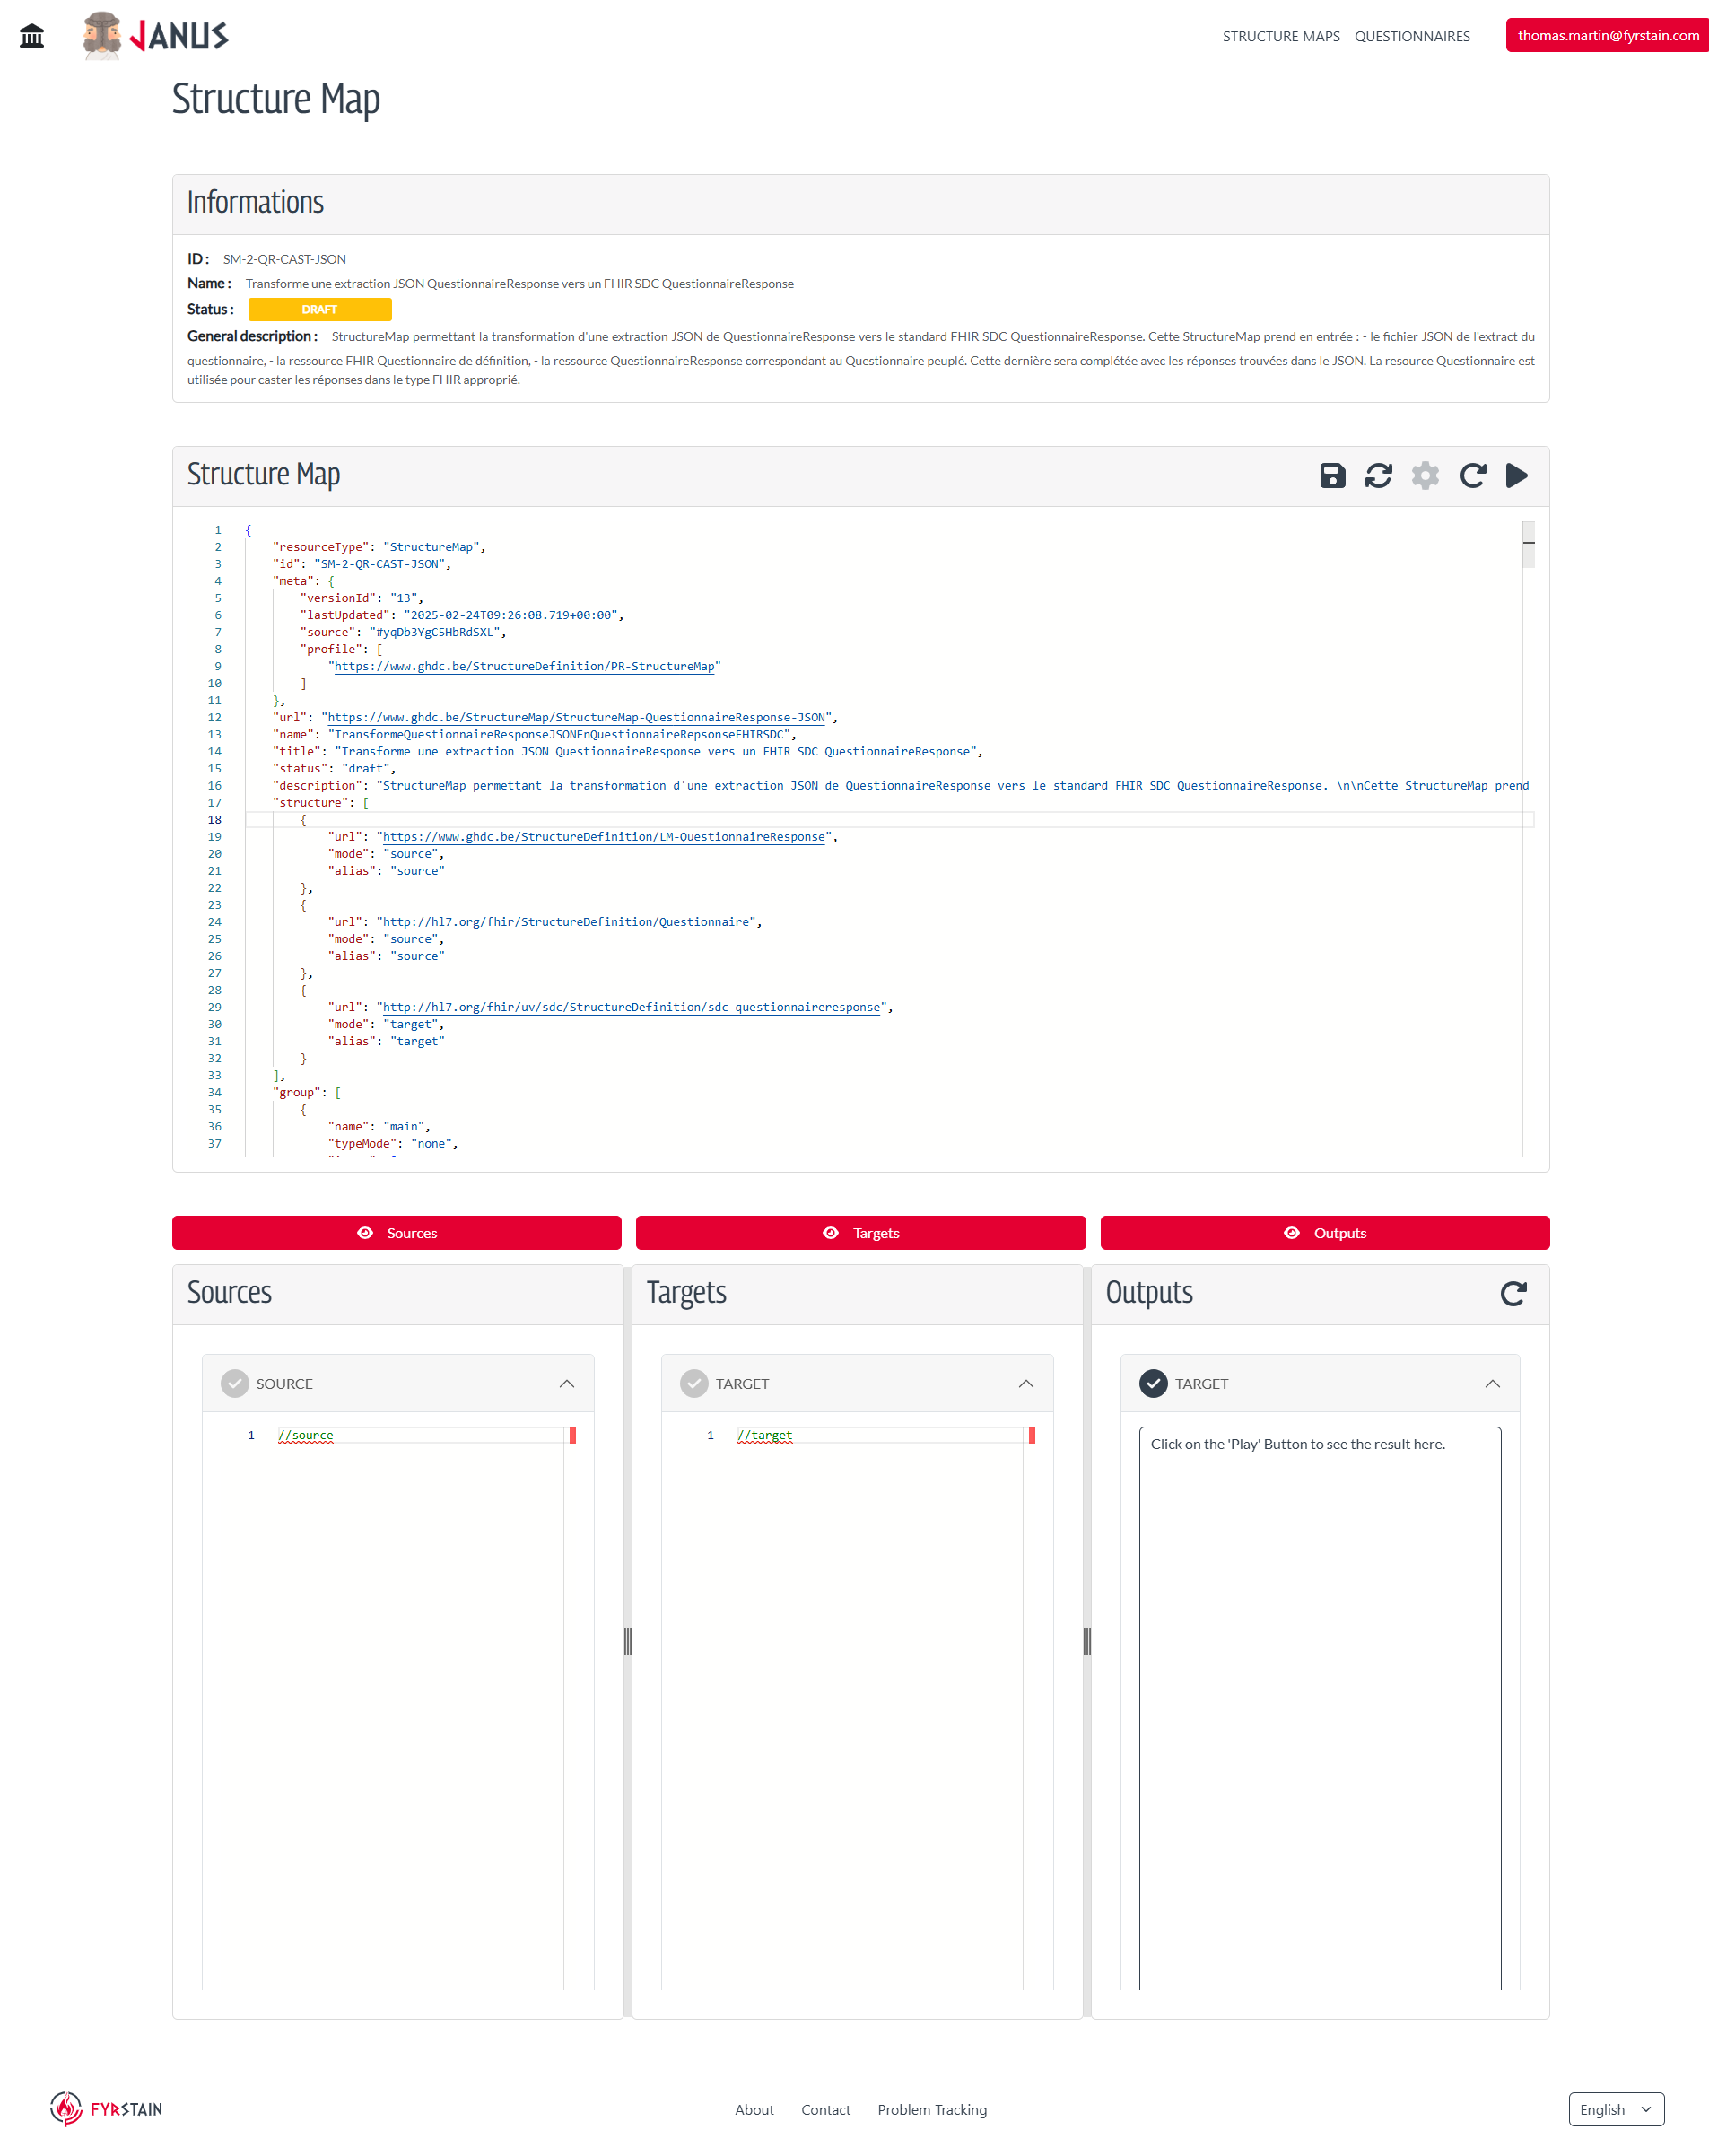
Directly below the header, there is an Informations section that provides details about the selected StructureMap:
StructureMap/example-structuremap-idPatient Data Transformation Mapactive, draft, retired, unknownactiveThis StructureMap is used for transforming patient health data from one format to another during data migration.Below the Informations section, there is a large StructureMap area displaying the actual JSON code of the StructureMap. This code defines how data is transformed. The section includes a toolbar with icons for different actions:
For a detailed explanation of StructureMap functionalities and how mapping works, please visit the StructureMap documentation page.
Below the StructureMap section, there are three distinct areas labeled Sources, Targets, and Output. Each area is designed for different parts of the mapping process:
Sources: This section is intended to display the source data that will be transformed. It includes a text area where users can input or view the source data in JSON format.
Targets: This section is for defining the target structure to which the source data will be mapped. It also includes a text area for inputting or viewing the target JSON structure.
Output: This section shows the result of the transformation after executing the StructureMap. It provides a text area where the output JSON can be viewed.
Each section (Sources, Targets, Output) has its own header with the section title and a toggle button to expand or collapse the section.
Here is how the transformation process works using StructureMap, following the steps Set the source, Refresh, and Execute:
In this step, you need to provide the source data you want to transform. This is done in the Sources section:
This step involves refreshing the data to ensure it is correctly loaded and ready for transformation.
This step executes the transformation using the mapping defined by StructureMap.
Once the transformation is completed, the result will be displayed in the Output section:
Structure Maps are at the heart of the data transformation process in the Janus application. With the Mapping Service, the application uses the Mapping Engine to convert data from various formats (XML, JSON, CSV, HL7v2) to standard formats such as FHIR® or CSV. This allows for easy integration of disparate sources and ensures data consistency within the application.
To learn more about how the Mapping Service works and the supported transformation operations, see the dedicated documentation.
The use of StructureMap and the Mapping Service translates concretely into the application:
This section illustrates a typical user workflow for transforming data using StructureMap in the Janus application.
To perform a mapping, follow these steps:
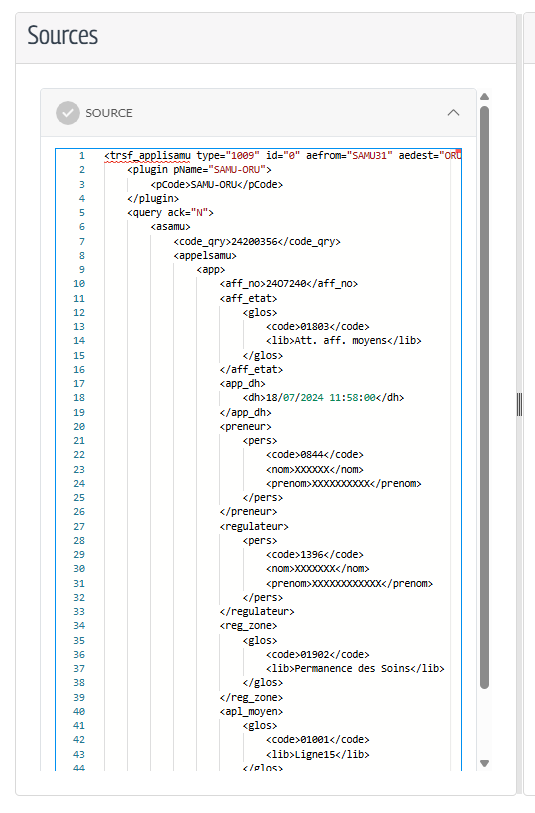
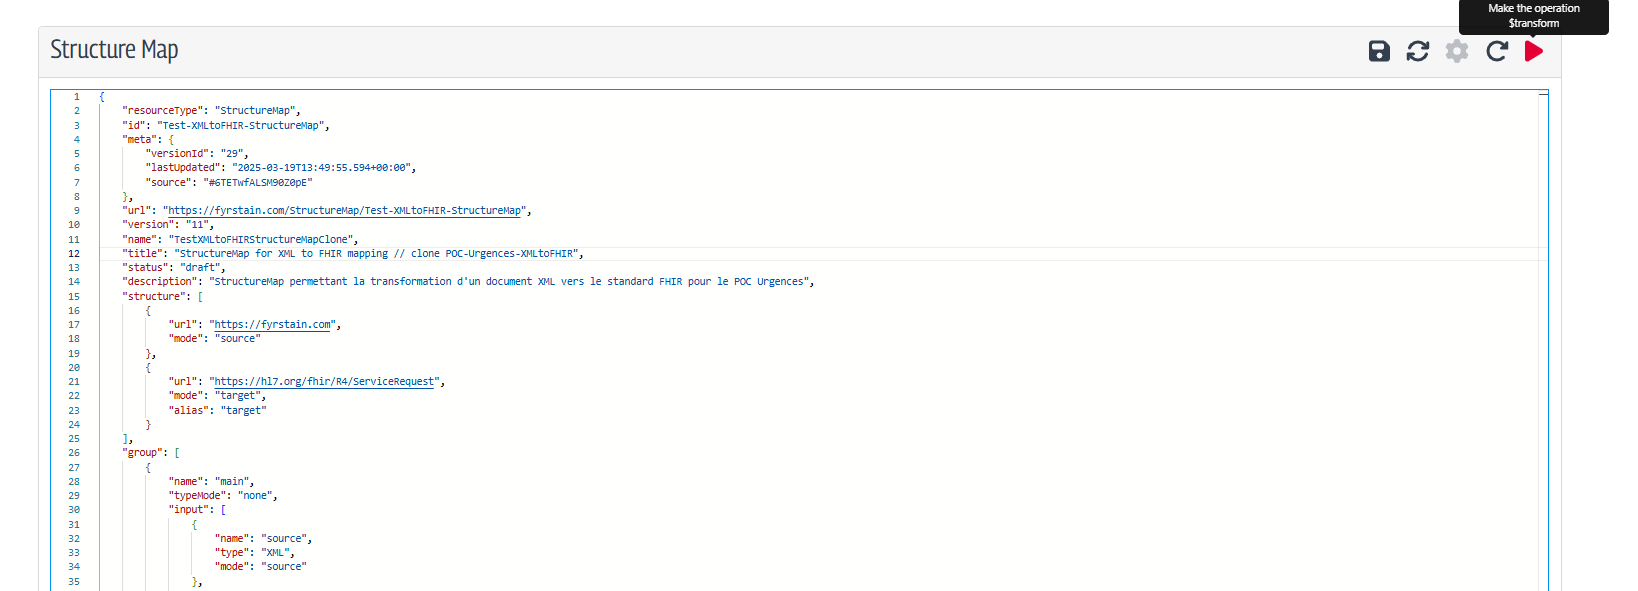
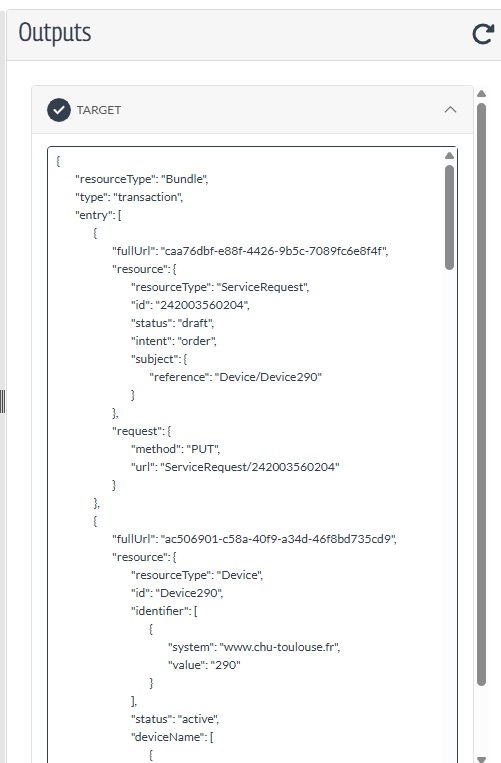
Below is a simplified example of a StructureMap resource used for XML to FHIR mapping in the Janus application:
{
  "resourceType": "StructureMap",
  "id": "Test-XMLtoFHIR-StructureMap",
  "url": "https://fyrstain.com/StructureMap/Test-XMLtoFHIR-StructureMap",
  "version": "11",
  "name": "TestXMLtoFHIRStructureMapClone",
  "title": "StructureMap for XML to FHIR mapping",
  "status": "draft",
  "description": "StructureMap permettant la transformation d'un document XML vers le standard FHIR pour le POC Urgences",
  // Defines the source and target resource structures for the mapping
  "structure": [
    {
      "url": "https://fyrstain.com",
      "mode": "source"
    },
    {
      "url": "https://hl7.org/fhir/R4/ServiceRequest",
      "mode": "target",
      "alias": "target"
    }
  ],
  "group": [
    {
      "name": "main",
      // Defines the input resources for the mapping group: source and target
      "input": [
        // Source input: XML data to be transformed
        {
          "name": "source",
          "type": "XML",
          "mode": "source"
        },
        // Target input: FHIR Bundle to receive the transformed data
        {
          "name": "target",
          "type": "Bundle",
          "mode": "target"
        }
      ],
      // Transformation rules applied to map source data to target structure
      "rule": [
        // Rule: Maps the 'query' element from XML source to the 'type' field in the FHIR Bundle target
        {
          "name": "Query",
          "source": [
            // Source element: extracts 'query' from the XML input
            {
              "context": "source",
              "type": "XML",
              "element": "query",
              "variable": "query"
            }
          ],
          "target": [
            // Target element: sets the 'type' field in the Bundle to 'transaction'
            {
              "context": "target",
              "element": "type",
              "transform": "copy",
              "parameter": [
                {
                  "valueString": "transaction"
                }
              ]
            }
          ]
        }
      ]
    }
  ]
}
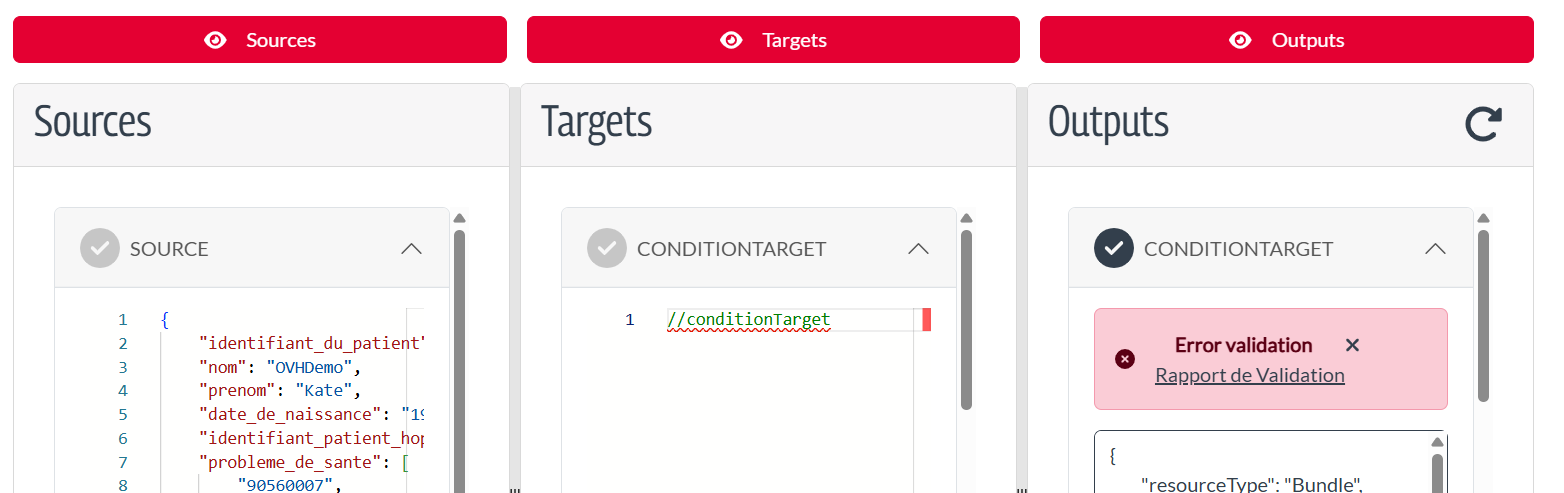
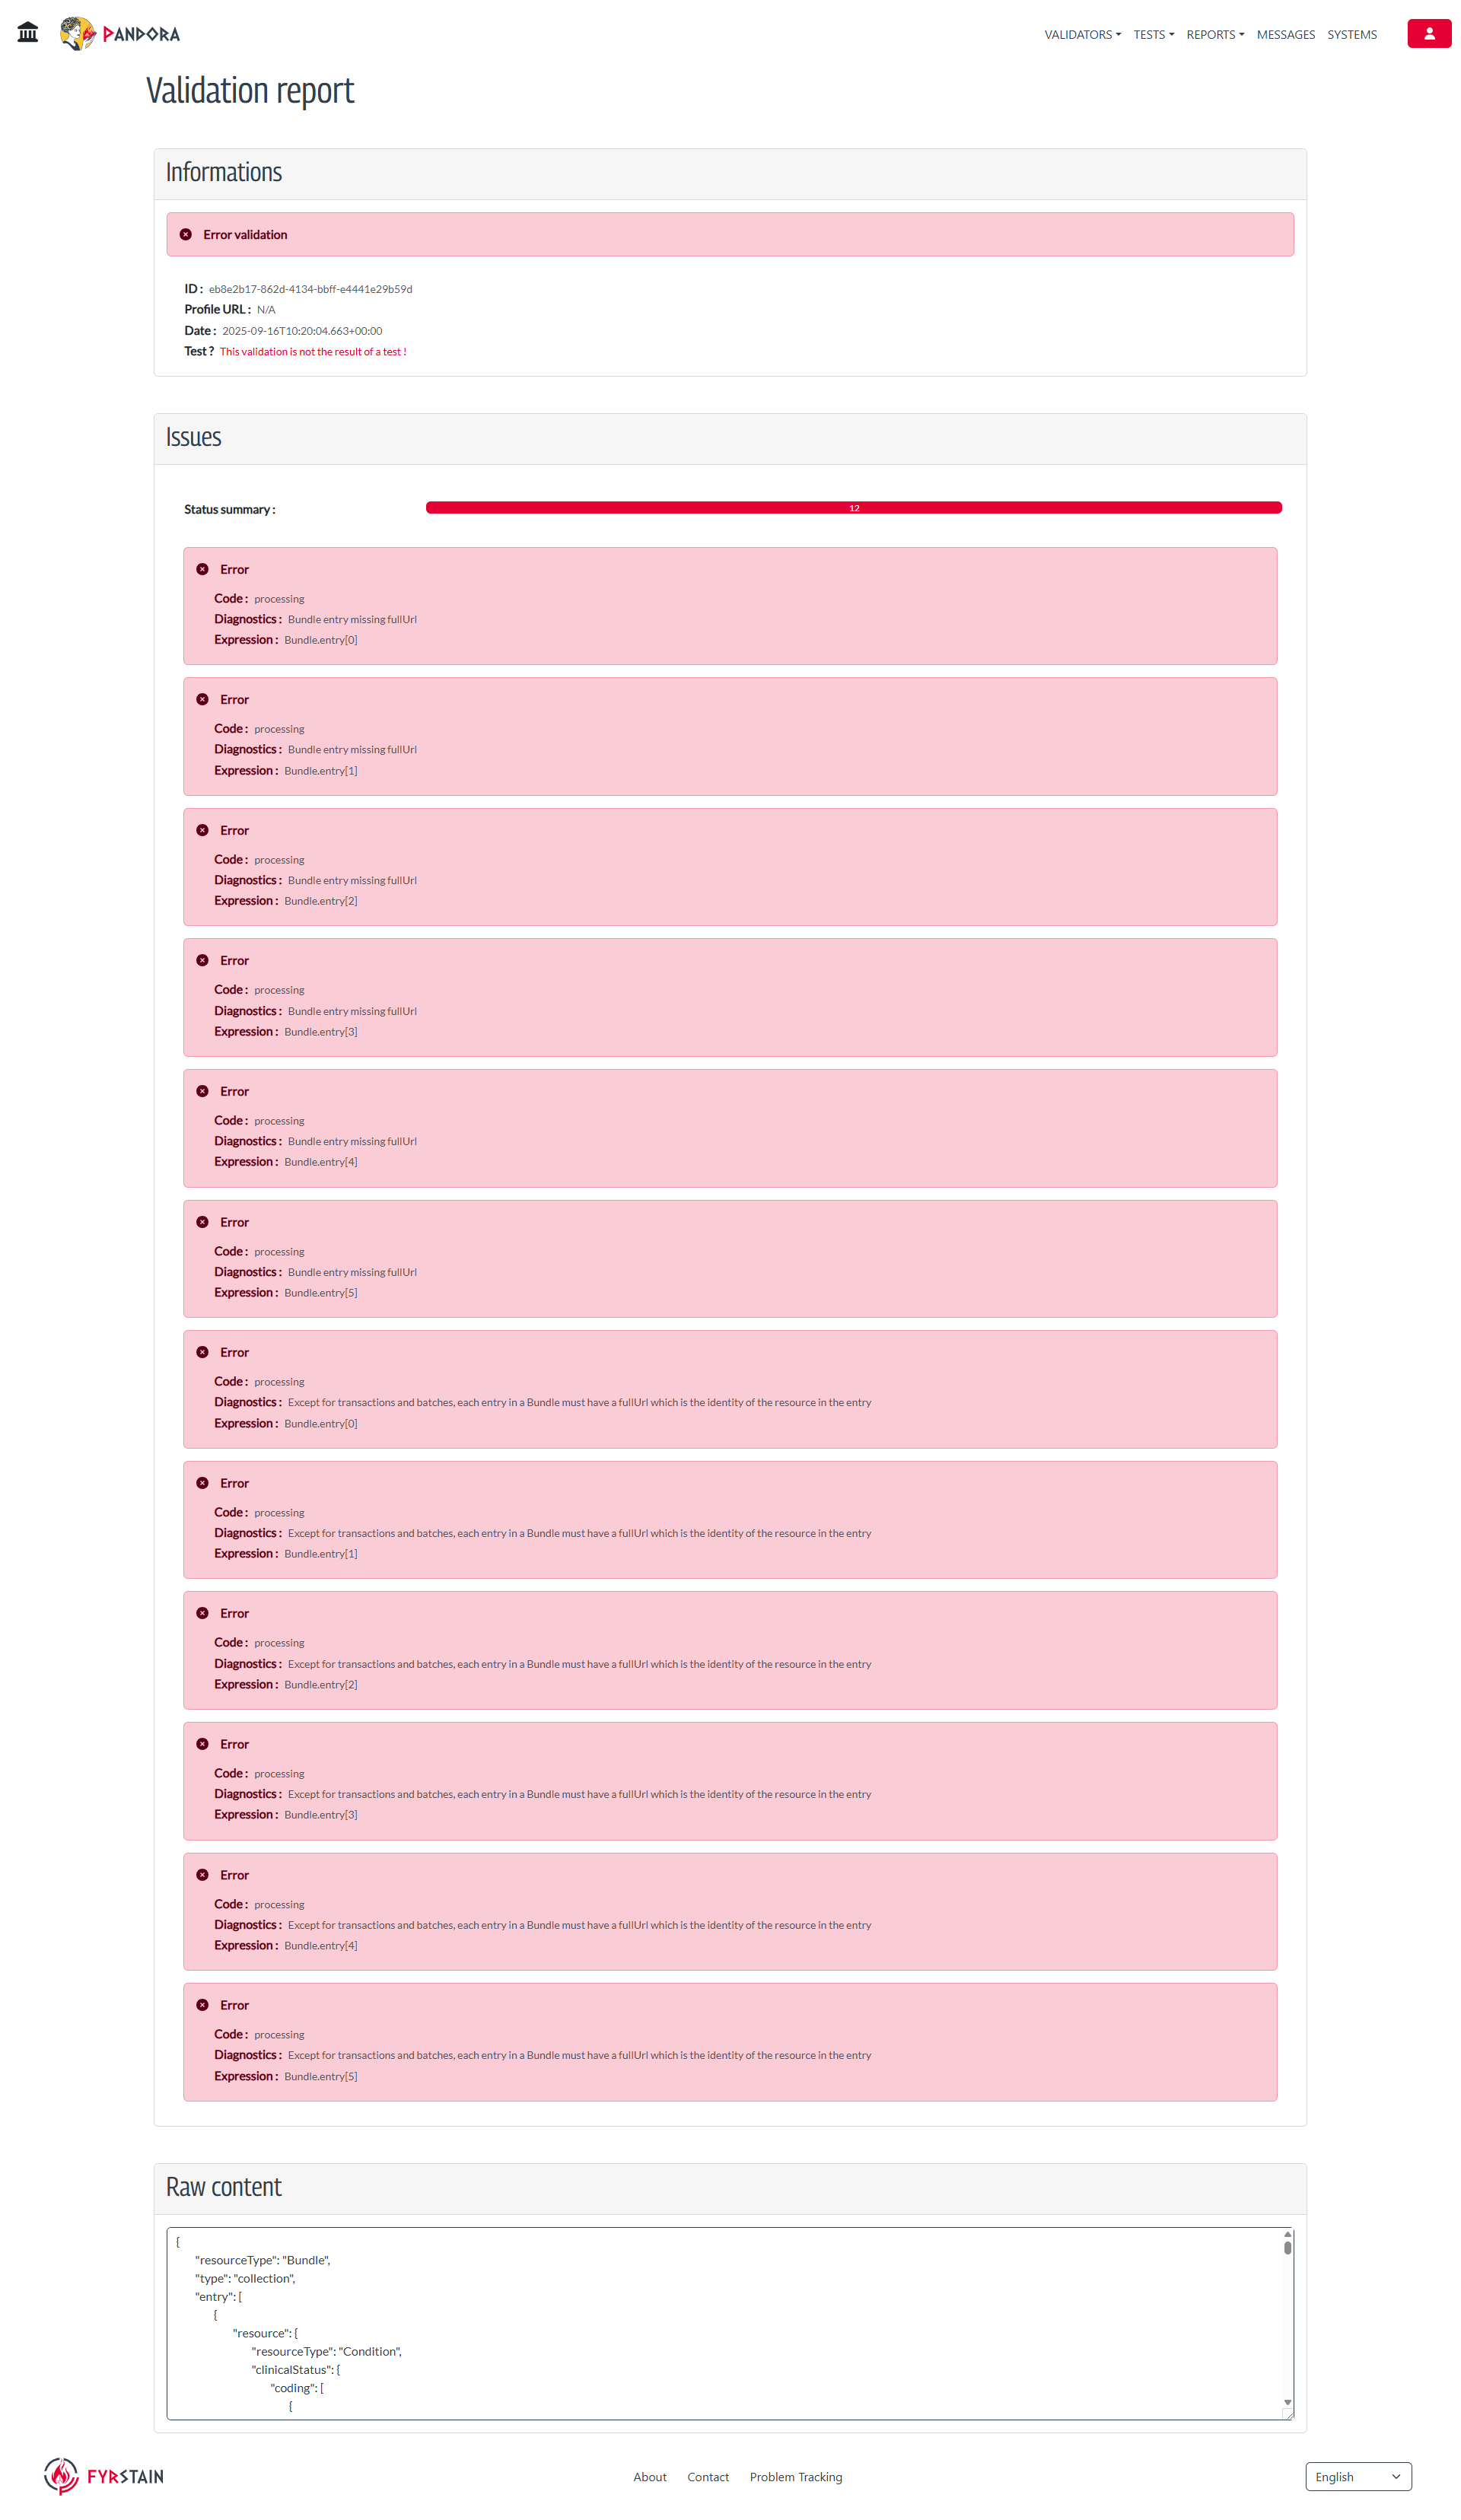
The Janus application integrates resource validation directly into the mapping workflow via the Pandora test platform, allowing users to verify their data's compliance with official standards. This is possible thanks to dedicated validation buttons/icons, available in the Source, Target, and Output panels.
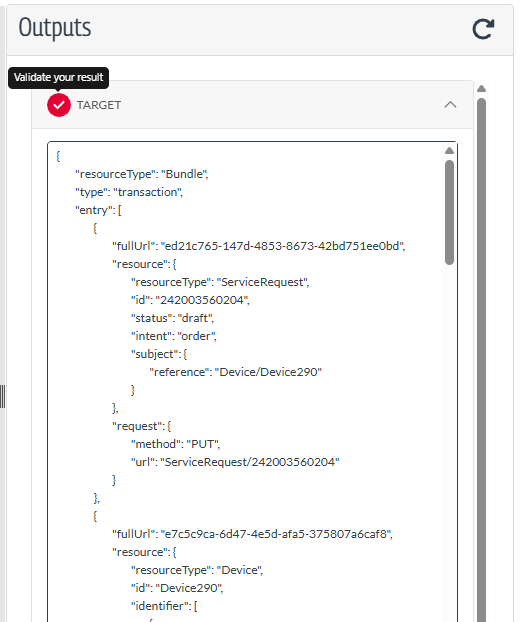
The system supports multiple validators, each dedicated to a specific resource format. Validator IDs are defined via environment variables:
REACT_APP_VALIDATOR_FHIR_JSON_ID for FHIR JSON resourcesREACT_APP_VALIDATOR_JSON_ID for generic JSONREACT_APP_VALIDATOR_XML_ID for XMLREACT_APP_VALIDATOR_CSV_ID for CSVREACT_APP_VALIDATOR_HL7V2_ID for HL7v2If no validator is configured for a given resource type, the validation button will not appear.
Configure Validators Define the appropriate environment variables in your deployment (see above) to link each resource type to its validation platform.
Use the Validation Button
In the "Source", "Target", and "Output" panels, click the validation icon to validate the displayed resource.
Janus integrates the TestableWidget component to automate testing of StructureMap resources with the Pandora testing platform.
TestableWidget uses the "scope" parameter to filter and display only test scripts related to the currently edited StructureMap. This ensures that users see tests relevant to their specific mapping artifact. See the official FHIR specification for TestScript.scope and for TestPlan.Scope.
Test scripts use fixtures, which are FHIR "DocumentReference" resources containing base64-encoded test data. The fixture represents the newly edited and saved StructureMap.
When a user launches a test, TestableWidget replaces the fixture contents with the modified StructureMap directly in Janus. This is done by updating the DocumentReference directly before launching the test, without modifying the Pandora API $launchTest.
Welcome to the Questionnaire!
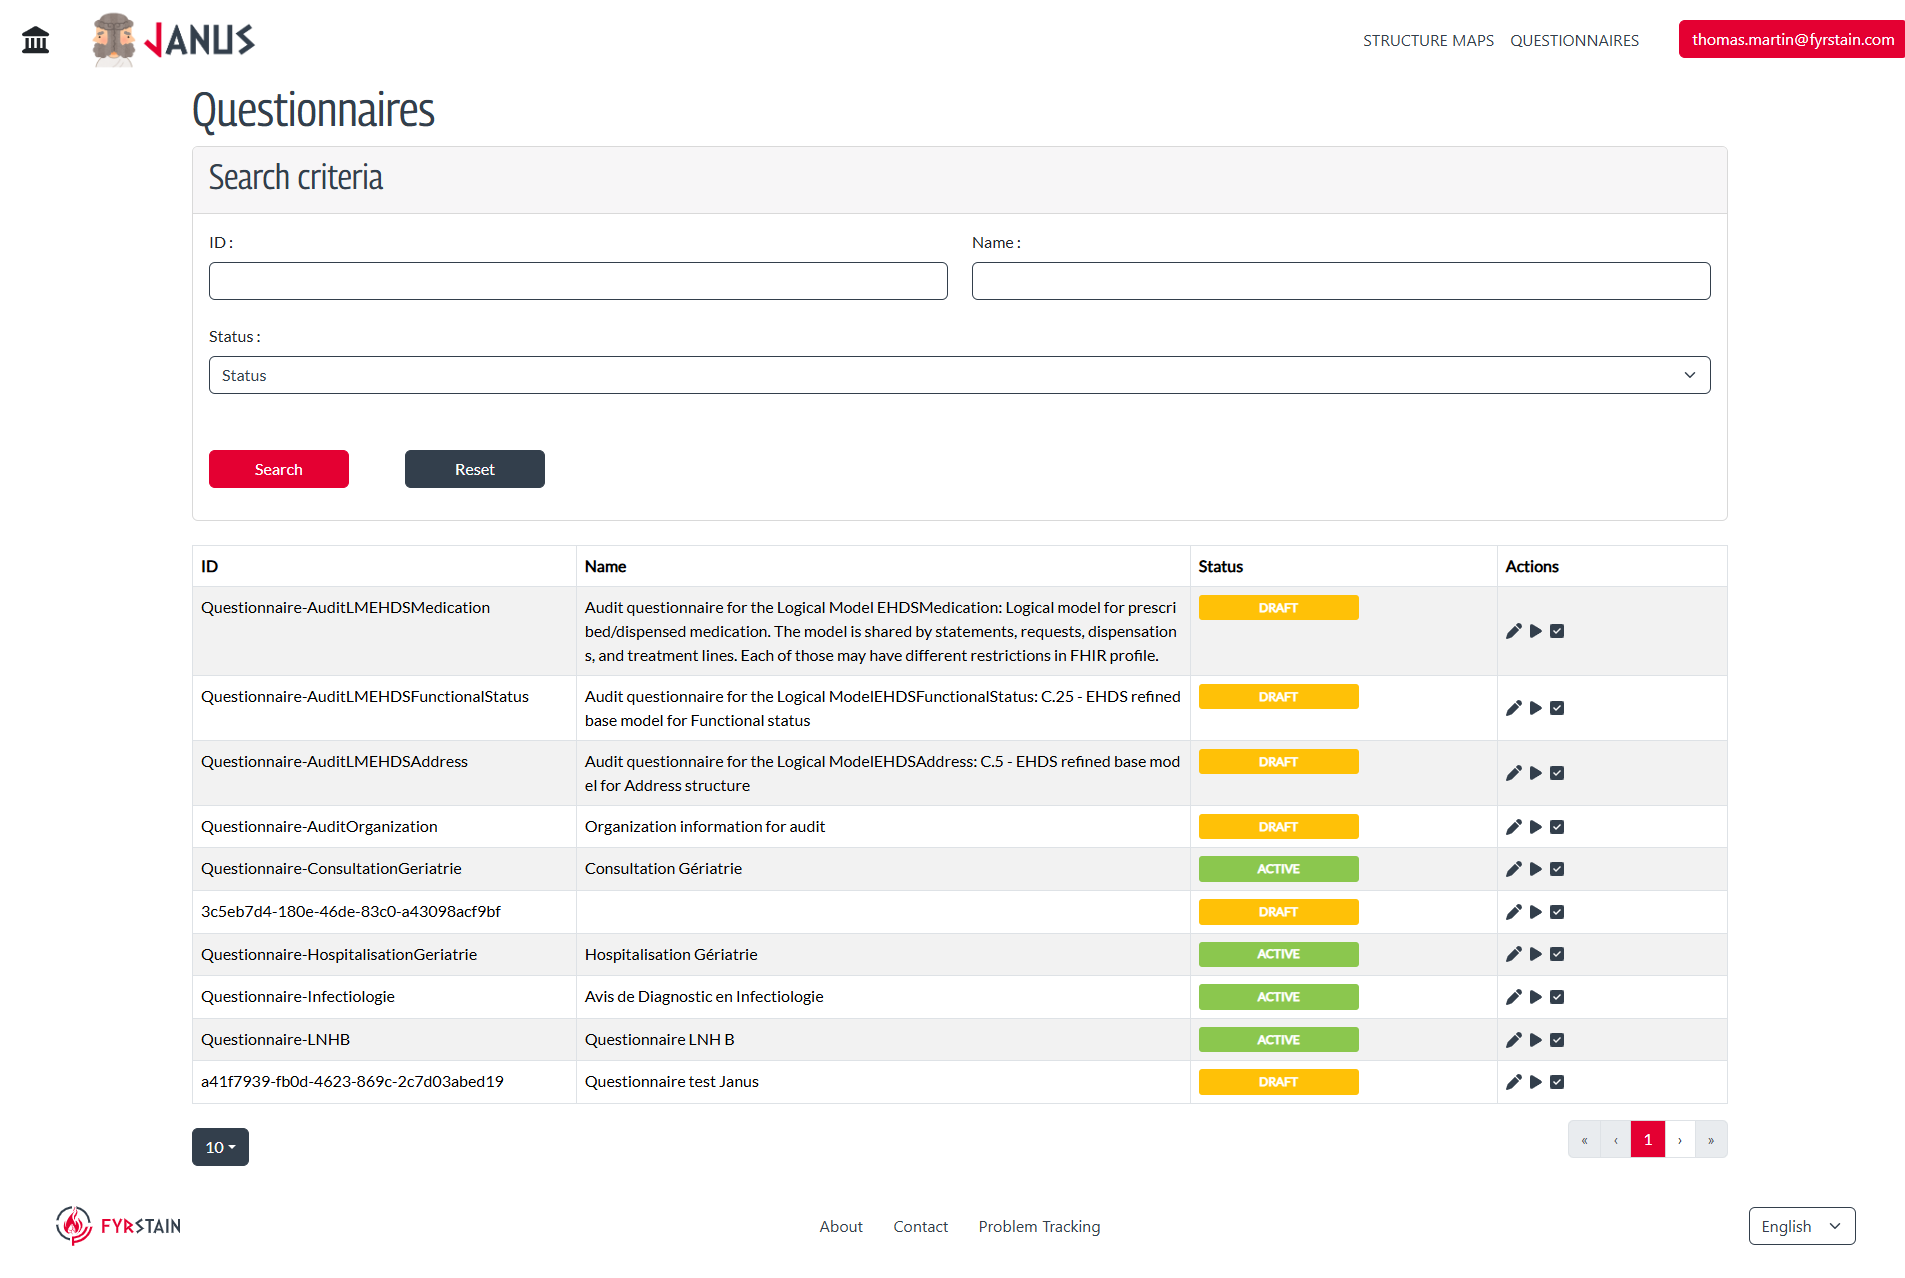
At the top of the Questionnaire page, there is a Search Criteria section that allows users to filter and find specific Questionnaire entries. This section includes the following fields:
Below these fields, there are two buttons:
Below the search criteria section, there is a table listing all the Questionnaire entries that match the search criteria. This table includes the following columns:
At the bottom of the page, there is a pagination control that allows users to navigate through multiple pages of Questionnaire entries. Users can select the number of entries displayed per page using a dropdown menu (e.g., 10, 20, 50), and navigate between pages using the left and right arrow buttons or by selecting a specific page number.
Welcome to the Questionnaire Page Launch!
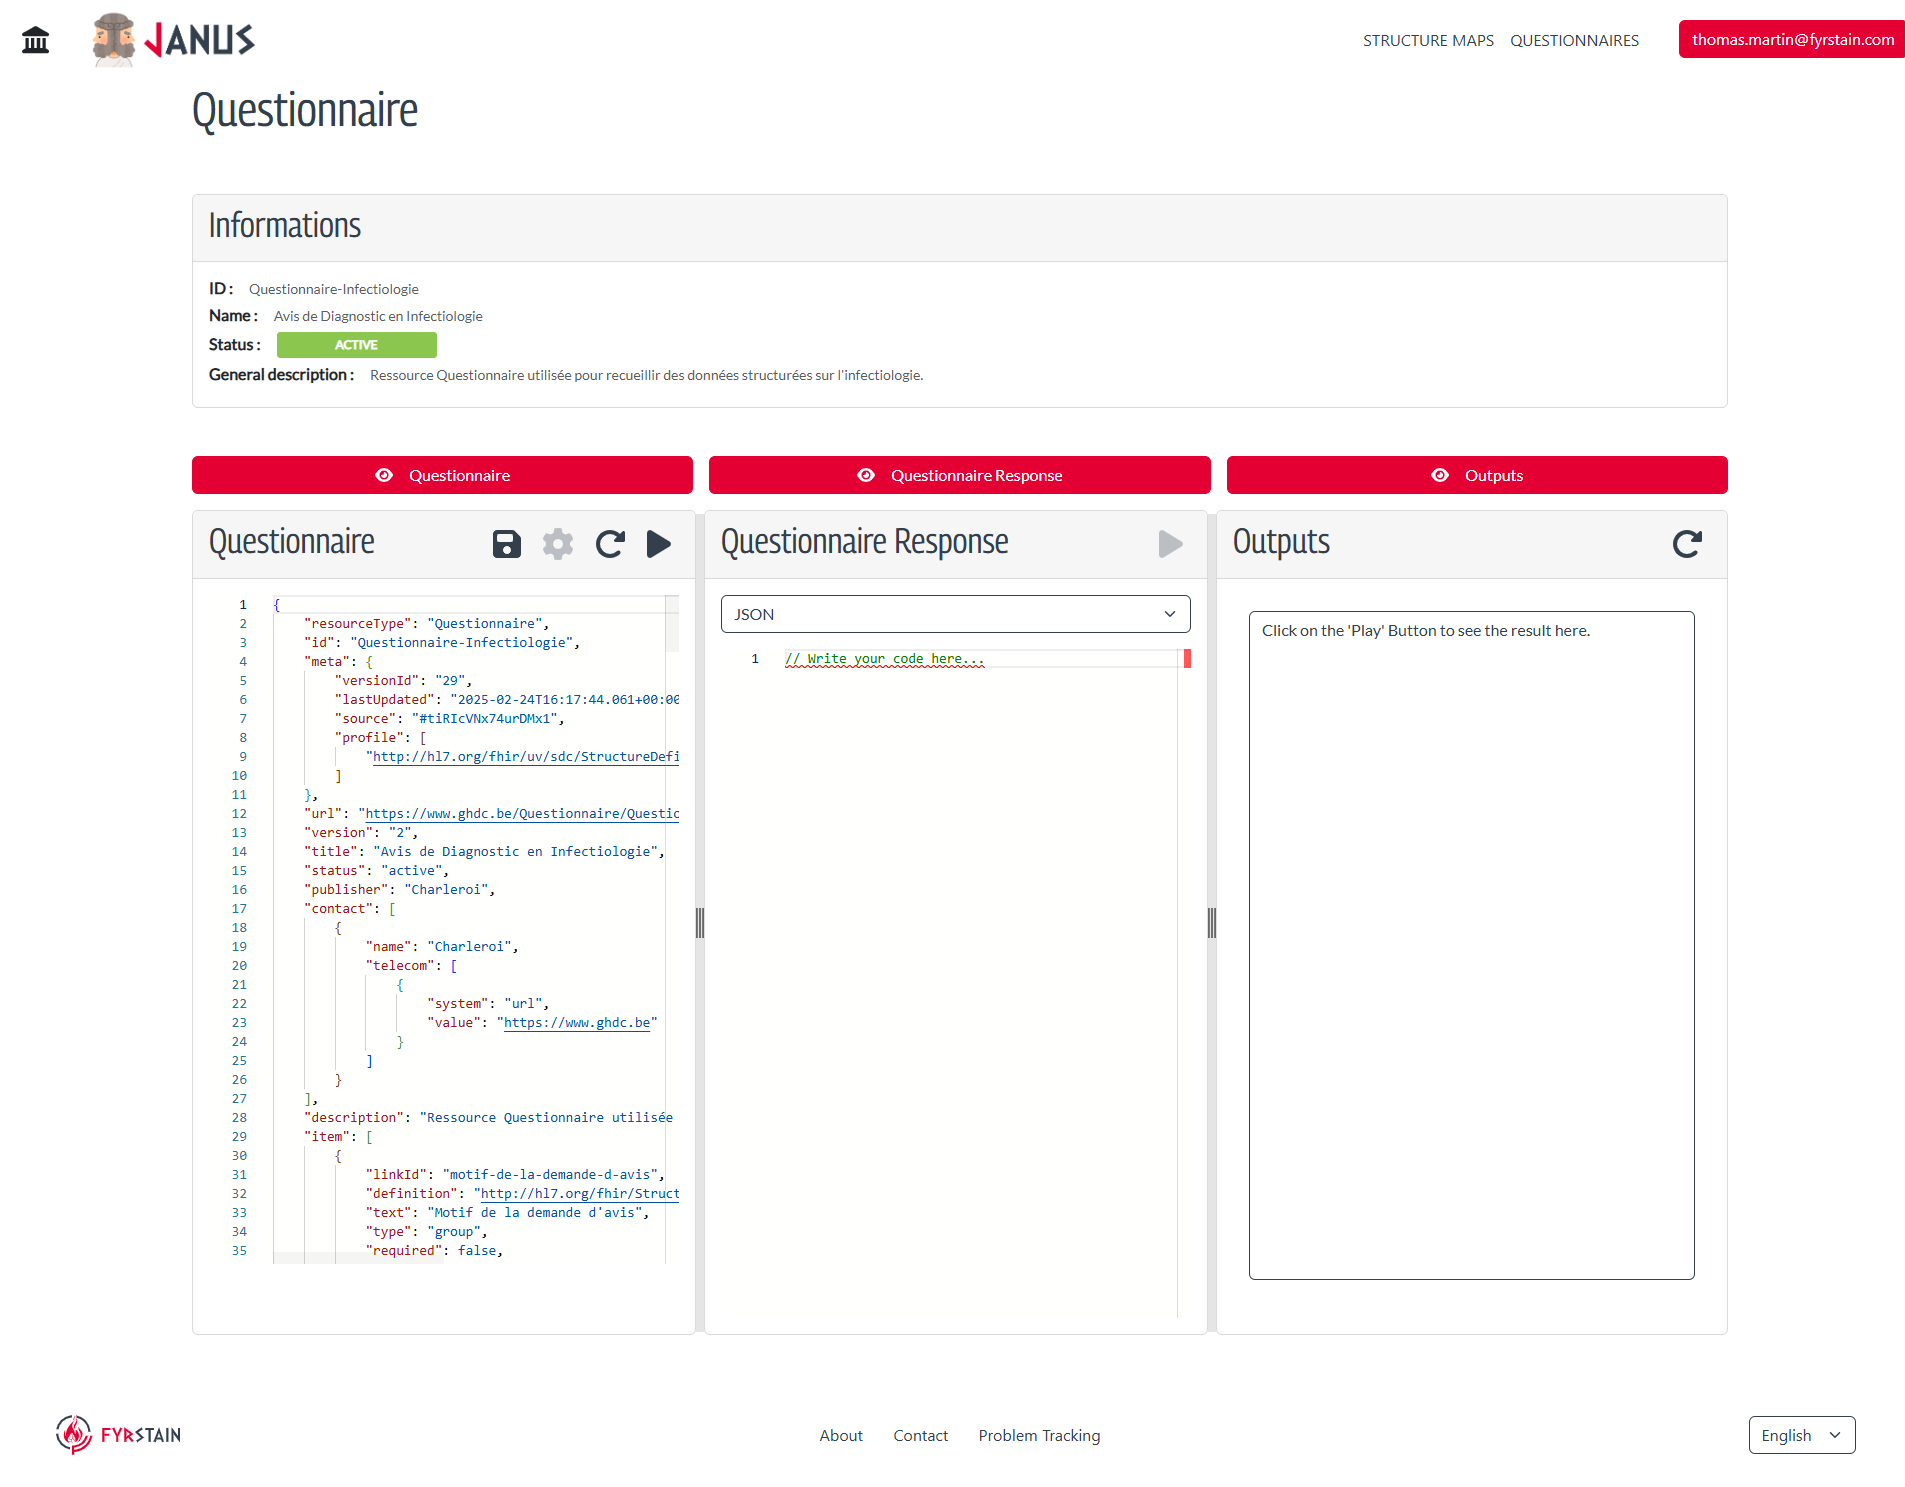
Directly below the header, there is an Informations section that provides details about the selected Questionnaire:
Directly below the header, there is an Informations section that provides essential details about the selected Questionnaire. This section includes the following elements:
patient-health-questionnairePatient Health Questionnaireactive, draft, retired, unknownThis questionnaire is used for capturing patient health information during routine check-ups.Below the Informations section, there is a Questionnaire area displaying the actual JSON code of the Questionnaire. The section includes a toolbar with icons for different actions:
Next to the Questionnaire section, there are three distinct areas labeled QuestionnaireResponse and Output. Each area is designed for different parts of the QuestionnaireResponse extraction process:
QuestionnaireResponse: This section is for defining the QuestionnaireResponse to which the data will be extracted.
Output: This section shows the result of the extraction of the differente FHIR® ressource after executing the QuestionnaireResponse. It provides a text area where the output JSON can be viewed.
Each section has its own header with the section title and a toggle button to expand or collapse the section.
The overall process involves managing and executing a Questionnaire and extracting data into FHIR resources using the Structured Data Capture (SDC) approach. Below are the detailed steps and functionalities:
The Structured Data Capture (SDC) process involves creating, populating, and extracting data from questionnaires. Here's how it works:
Creating a QuestionnaireResponse:
Populate: This step involves creating an empty QuestionnaireResponse from the defined Questionnaire. The QuestionnaireResponse serves as a container for the answers to the questions defined in the Questionnaire.
Answer Questions: Go through each question in the Questionnaire and provide the appropriate answers in the QuestionnaireResponse.The answers should be filled in the correct format, as specified by the question type (e.g., string, integer, date, choice, etc.).
Executing the QuestionnaireResponse:
After modifying the QuestionnaireResponse, you can use the Execute button in the QuestionnaireResponseand then you have to use the Refresh icon to reload the updated Questionnaire JSON and finally use the Execute button in the Questionnairesection to apply the changes and see the updated results in the Output section.
Extracting Resources:
Extract: After the step 3, this step involves extracting FHIR resources from the responses provided in the QuestionnaireResponse. Based on the answers, the system generates the corresponding FHIR resources (e.g., Patient, Observation, etc.) as defined by the mappings.
Regardless of which column you make changes to, you can reload the updated data into the corresponding section:
Questionnaire, you can use the Refresh icon to reload the updated Questionnaire JSON.Once the extraction is done, the generated FHIR resources can be validated against specified profiles:
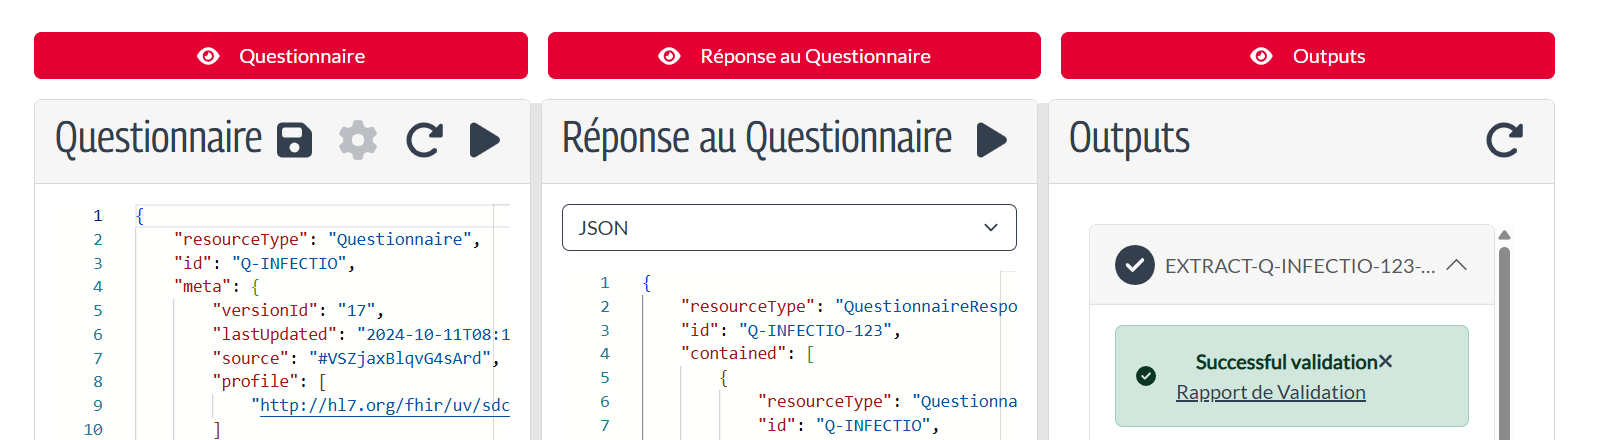
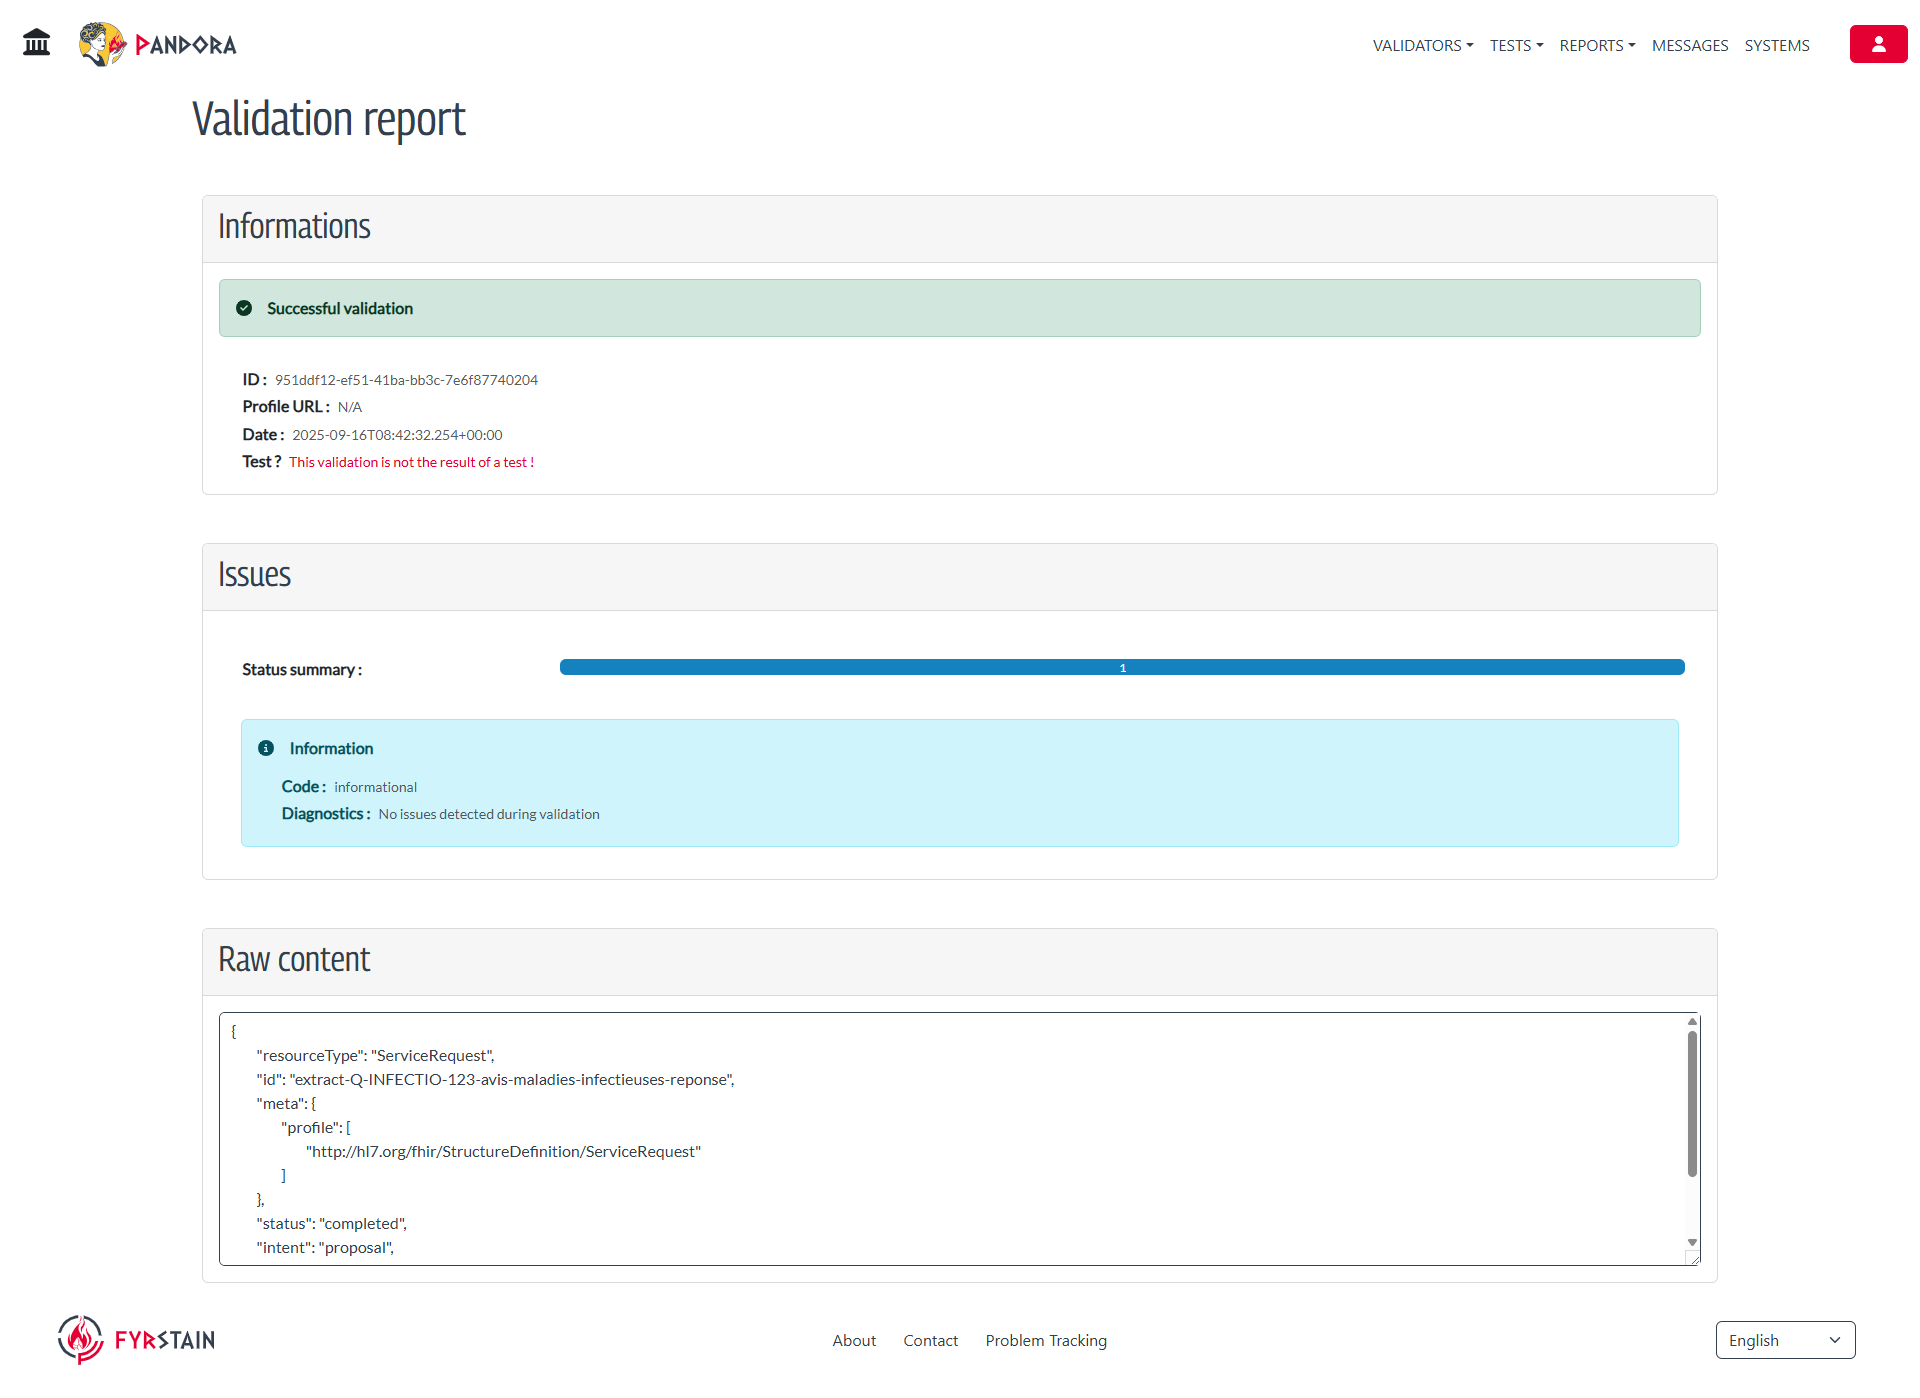
Output section can be validated against profiles specified in the metadata. This ensures that the generated resources conform to the expected standards and constraints.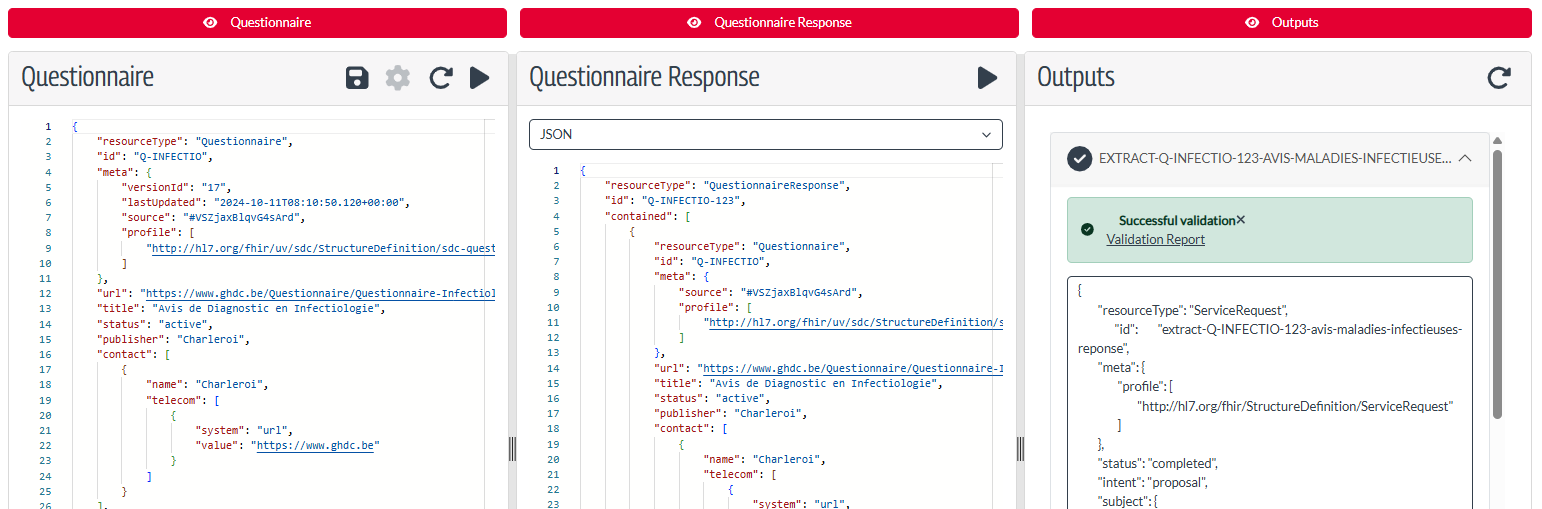
The Pandora test platform supports multiple validators, each dedicated to a specific resource format. Validator IDs are defined via environment variables:
REACT_APP_VALIDATOR_FHIR_JSON_ID for FHIR JSON resourcesFor the Questionnaire workflow, only FHIR JSON validation is available, as the extracted resources are always in FHIR JSON format.
If no validator is configured for the output resource type, the validation button will not appear.
Janus also integrates the TestableWidget component to automate testing of Questionnaire resources and their extracted FHIR resources with the Pandora testing platform.
TestableWidget uses the "scope" parameter to filter and display only test scripts related to the currently edited Questionnaire. This ensures that users see tests relevant to their specific questionnaire artifact. See the official FHIR specification for TestScript.scope and for TestPlan.Scope.
Test scripts use fixtures, which are FHIR "DocumentReference" resources containing base64-encoded test data. The fixture represents the Questionnaire or the extracted FHIR resource (e.g., CarePlan, Observation) generated after completing a QuestionnaireResponse.
When a user launches a test, TestableWidget replaces the fixture contents with the modified Questionnaire or the extracted resource directly in Janus. This is done by updating the DocumentReference directly before launching the test, without modifying the Pandora API $launchTest.
Questionnaire in JSON format.QuestionnaireResponse based on the Questionnaire.QuestionnaireResponse with answers.QuestionnaireResponse to see the updated results.QuestionnaireResponse.By following these steps, you can efficiently manage, execute, and validate Questionnaires and their responses, ensuring compliance with FHIR standards.
Welcome to the QuestionnaireResponse Form Page !
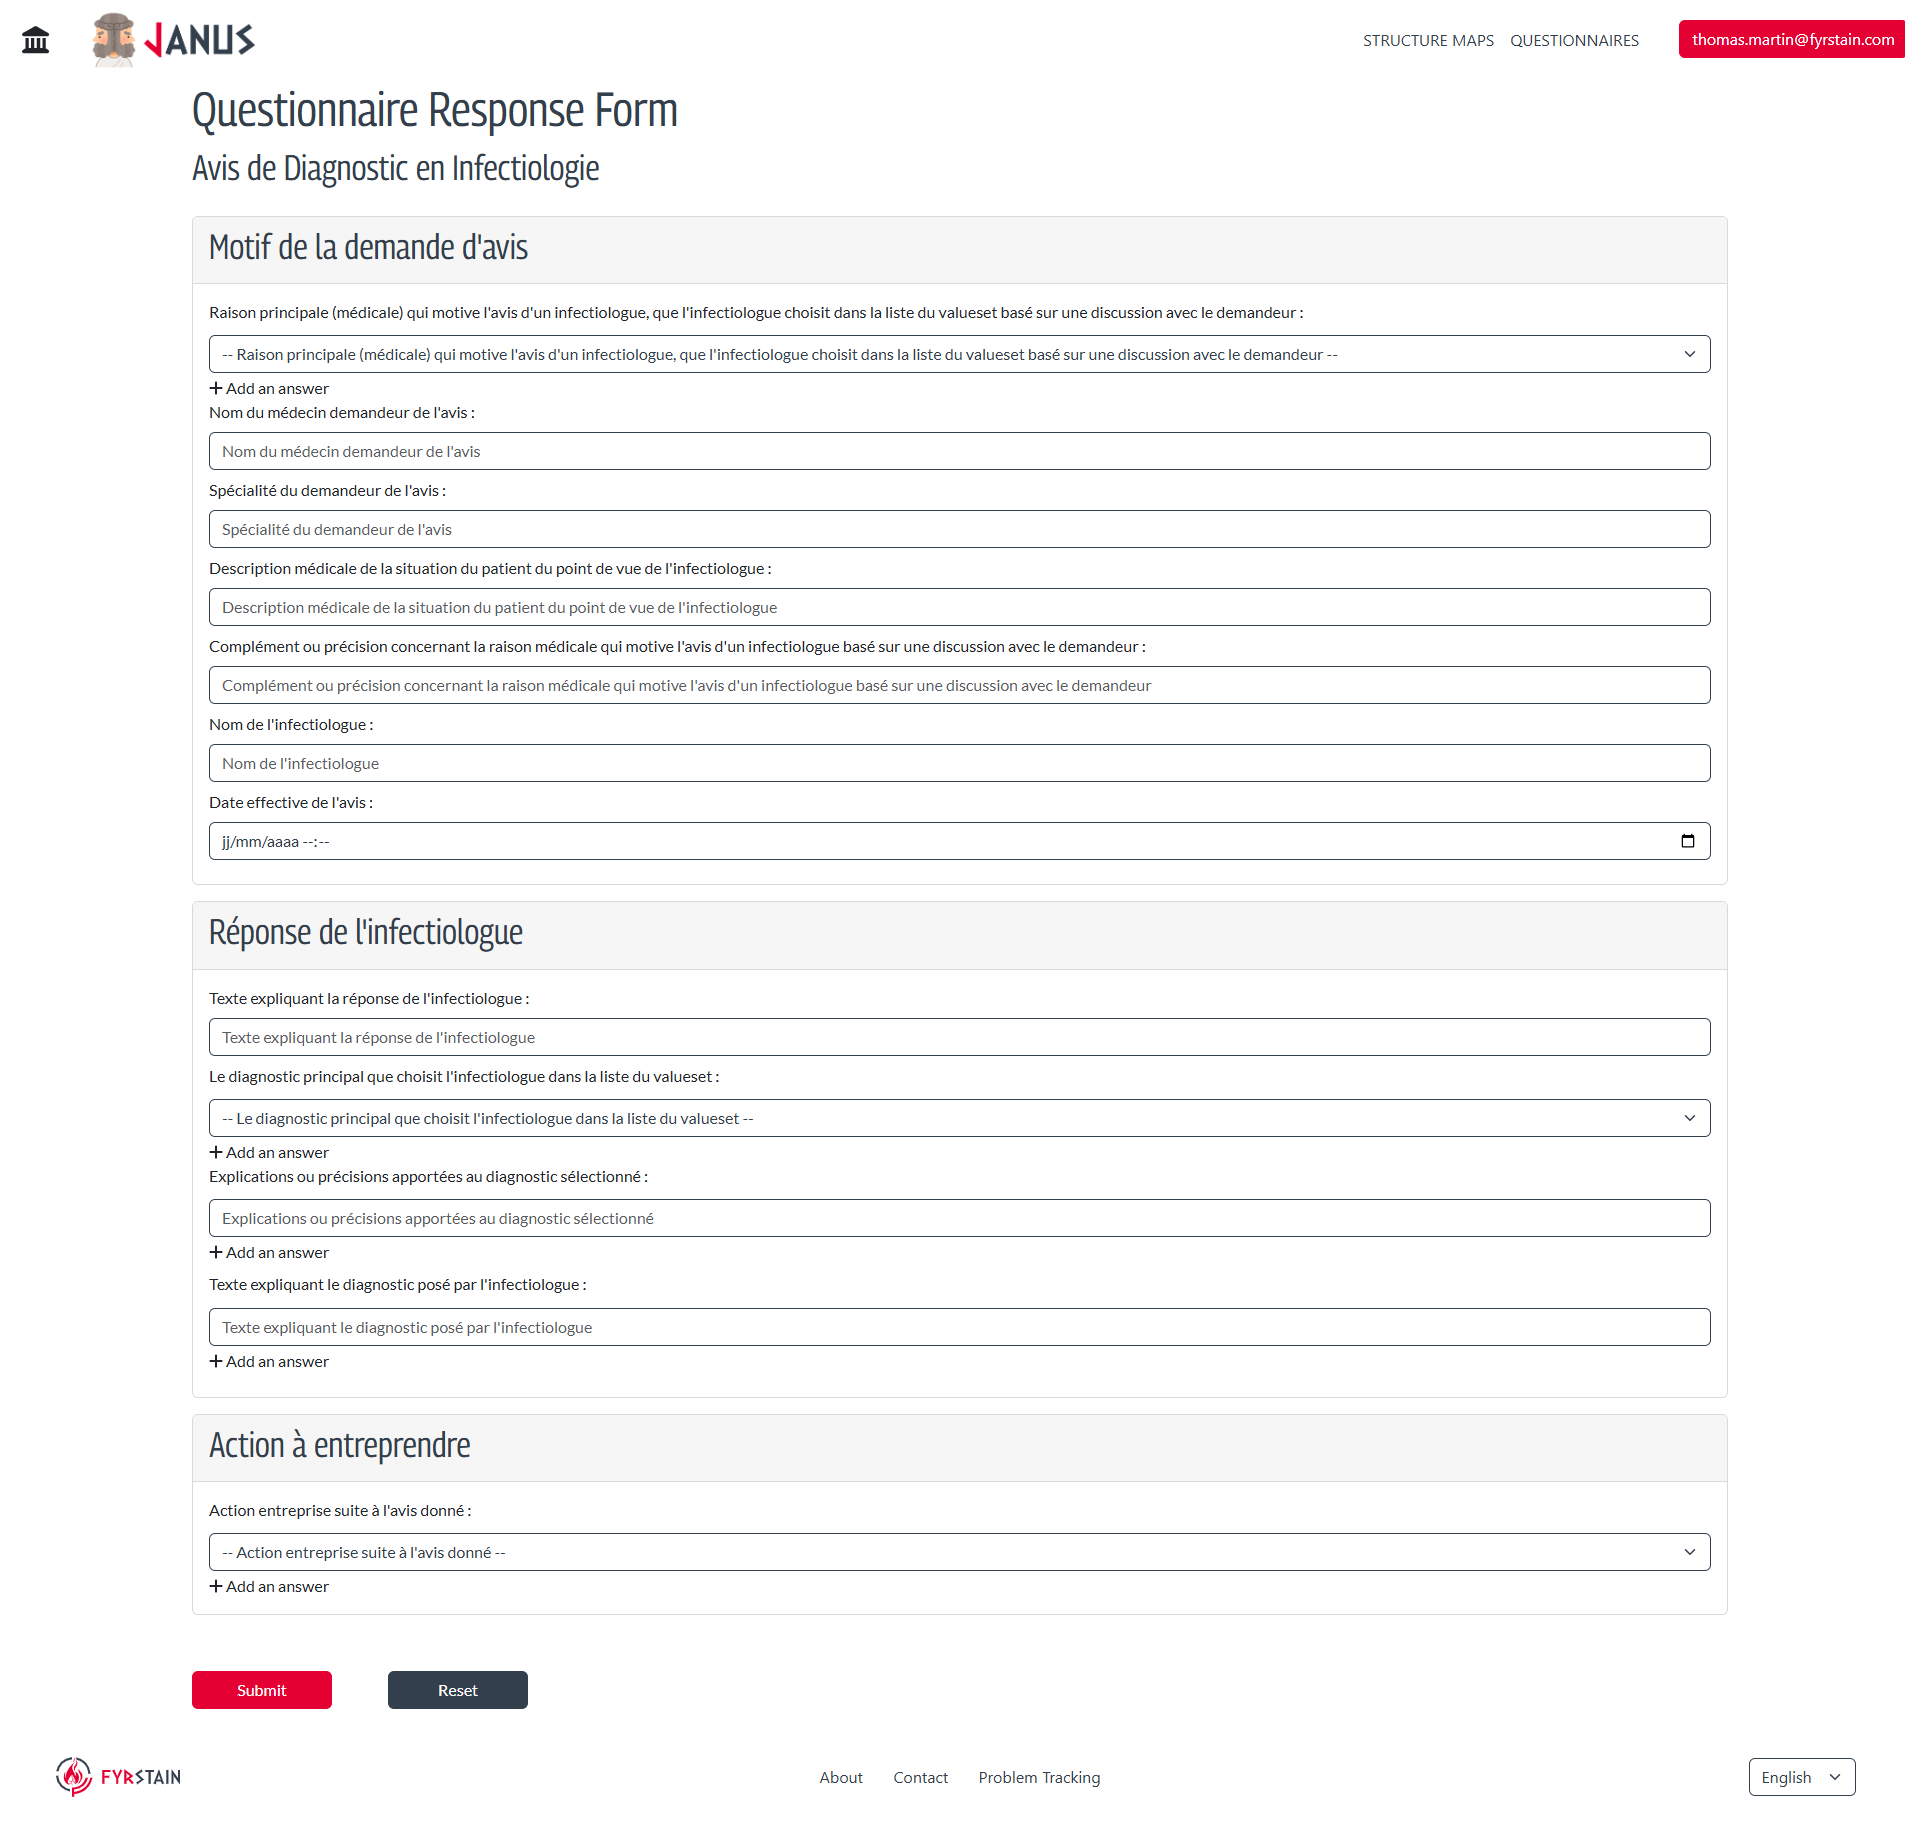
Here's how to access, complete and validate your form.
Access to the form: Go to the questionnaire page via the corresponding URL or from the Questionnaire List. The form will be displayed automatically with the questions loaded.
Fill in the form: Questions are displayed dynamically according to the questionnaire. If a field is mandatory, it must be filled in before submission.
Submit Responses: Click on the ‘Submit’ button once you have completed the form.
By following these steps, you will be able to retrieve the form, complete it and then validate it.